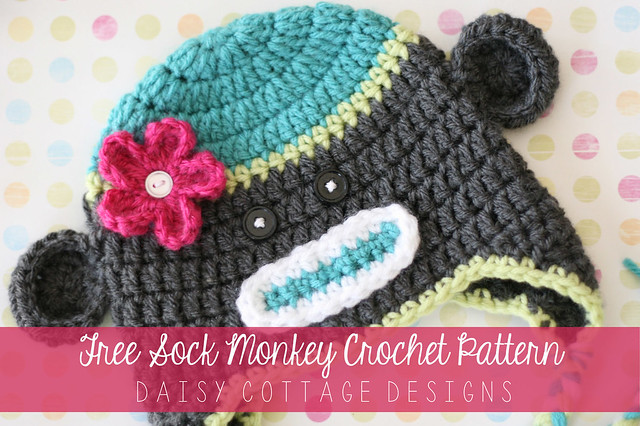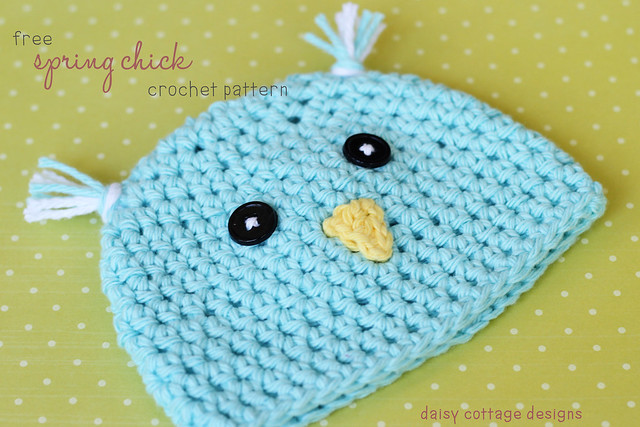
The free owl hat crochet pattern in the newborn size has been so popular, I've decided to offer another size for free. If you're interested in all of the sizes, they're available in my Etsy shop. Please note that the newborn size is slightly different than the one offered in my shop.
This hat is for the toddlers in your life. Fitting kids approximately one to three years old, this hat first heads that measure 18"-20" in diameter.
If you make a hat, please use the hashtag #daisycottagedesigns on Instagram or put them on Facebook so I can see your finished items!
Materials Needed:
• Worsted weight yarn (I usually use Lily Sugar ‘n Cream or Vanna’s Choice) in two main colors
• Small amounts of worsted weight yarn in white (eyes) and yellow or orange (beak)
• Small amount of worsted weight yarn for flower
• I crochet hook
• H crochet hook for eyes, “ears,” and beak
• F crochet hook for flower
• Buttons for eyes and center of flower
• Tapestry needle for weaving ends
1‐3 Years:
Ch 2.
Round 1: 9 sc into the first chain. (9)
Round 2: 2 dc into each stitch. (18)
Round 3: 2 dc into each stitch. (36)
Round 4: *1 dc into the next stitch, 2 dc into the next stitch* around. (54)
Round 5‐8: dc in each stitch around (54)
Round 9: dc into each stitch around. Sl st into the first stitch of the last round. Cut yarn. (54)
Round 10: Join second color yarn with a sl st. Ch 2, dc in the same stitch (in other words, the ch 2 does not count as your stitch) and in each stitch around. (54) Rounds 11 – 12: dc in each stitch around (54)
Round 13: dc in each stitch around. Sl st in the next stitch. (54)
Stop here and add one round of sc if you want a beanie. If you’d like an earflap hat, keep going without cutting yarn.
Earflap Directions:
Ch 1.
Row 1: hdc in the same stitch and in the next 12 stitches. Ch 1, turn. (13)
Row 2: hdc 2 together, hdc in the next 9 stitches, hdc 2 together. Ch 1, turn. (11) Row 3: hdc 2 together, hdc in the next 7 stitches, hdc 2 together. Ch 1, turn. (9) Row 4: hdc 2 together, hdc in the next 5 stitches, hdc 2 together. Ch 1, turn. (7) Row 5: hdc 2 together, hdc in the next 3 stitches, hdc 2 together. Ch 1, turn. (5) Row 6: hdc in each stitch across. Ch1, turn. (5)
Row 7: hdc 2 together, hdc in the next stitch, hdc 2 together. Fasten off. (3)
You will now need to work the second earflap. On the front of the hat, skip 16 stitches and begin the second earflap by joining yarn with a sl st. You will work it exactly as you did the one above.
Final Row: After working the second earflap, single crochet evenly around the entire hat. Work two sc into the corner stitches of the earflaps. Fasten off and weave all ends.
You’ll now make the features for your owl. Remember, you’re now using the H hook.
Eyes (2):
Ch 3.
Row 1: 9 dc into the first ch. Join with a sl st to the first dc (NOT in the chain). Ch 1. (9) Row 2: 2 hdc into the first stitch and in each stitch around (18). Join with a sl st to the first dc (NOT in the chain). Ch 1. (18)
Row 3: *hdc in the next stitch, 2 hdc in the next* around. Sl stitch at the beginning of the first dc (NOT in the chain). Fasten off. (27)
Leave a long tail for sewing on the hat.
Ears (2):
Ch 2.
Row 1: 6 sc into the first ch. (6)
Row 2: 2 sc into each stitch. (12)
Rows 3 – 8: sc in each stitch around. (12)
Row 9: sc in each stitch around. Sl st in the next stitch. (12) Fasten off and leave a long tail for sewing onto the hat.
Please note: at first, it looks like you’re making a circle. Keep working. Your ears will take on a tube shape.
Beak:
Ch 6.
Row 1: sc in the second ch from hook, hdc in the next, dc in the next, tc in the last two. Finish off and leave a long tail for sewing on the hat.
At this point, sew the features on the hat using a tapestry needle. The placement is up to you.
Braids & “Tufts”:
For each side of the hat, cut 9 strands of yarn (I usually do 3 strands each of 3 different colors) approximately 38 inches long. Fold them in half and pull the “loop” through the hat. Pull the loose ends through the loop to attach the yarn to the hat.
For the tufts at the top of each ear, cut 3 strands of yarn approximately 9 inches long. Fold them in half and pull the loop through. Pull the loose ends through that loop to attach the top of each earflap.
You are welcome to make any Daisy Cottage Designs patterns and sell your finished items.
I do ask that you take your own photos and not claim the pattern as your own.
I would be very appreciative of a link back to the original pattern.
If you like this pattern, you'll definitely want to check out the other free Daisy Cottage Designs patterns.


Hi, novice crocheter here! For the owl hat, do I start by creating a 4 chain ring to add the first round of 9sc to? Or do I do a continual round? Pippa
ReplyDeleteI adore this pattern! I'm making it for a friend's daughter for Christmas. I love the little flower that is on the hat, but I'm haven't found the pattern for it on your site. Am I looking in the wrong place or can you tell me where you got it from? It's cuter than other flowers I have patterns for :) Thank you!!! -Laura Beth
ReplyDeleteLauren did you find it? Im having the same trouble...
DeleteIs it one sken of each color for the hat or more? Taking it as a craft to Alaska and don't want to be short on yarn when I get there.
ReplyDeleteIm trying to make this for my 2 year old and cant find where the flower pattern is?
ReplyDeleteFor those looking for the flower pattern, go to the Crochet Patterns link and scroll all the way down. There are a couple of cute flower patterns there~
ReplyDelete